
 Rapixa · Android 1.1.8
How to put GPS coordinates and a street address on photos and videos
Start at step 1Several drains along one street look alike. A street name gets the crew to the right block, but they still have to check each grate to find the defect.
Help a repair crew find the right drain
Take the close-up beside the drain with its address and coordinates visible. Then film a nearby sign or cover number. That landmark helps the crew distinguish two drains close enough to have similar GPS readings.
Allow location access for coordinates. If the address lookup is unavailable, enter the verified site address yourself.
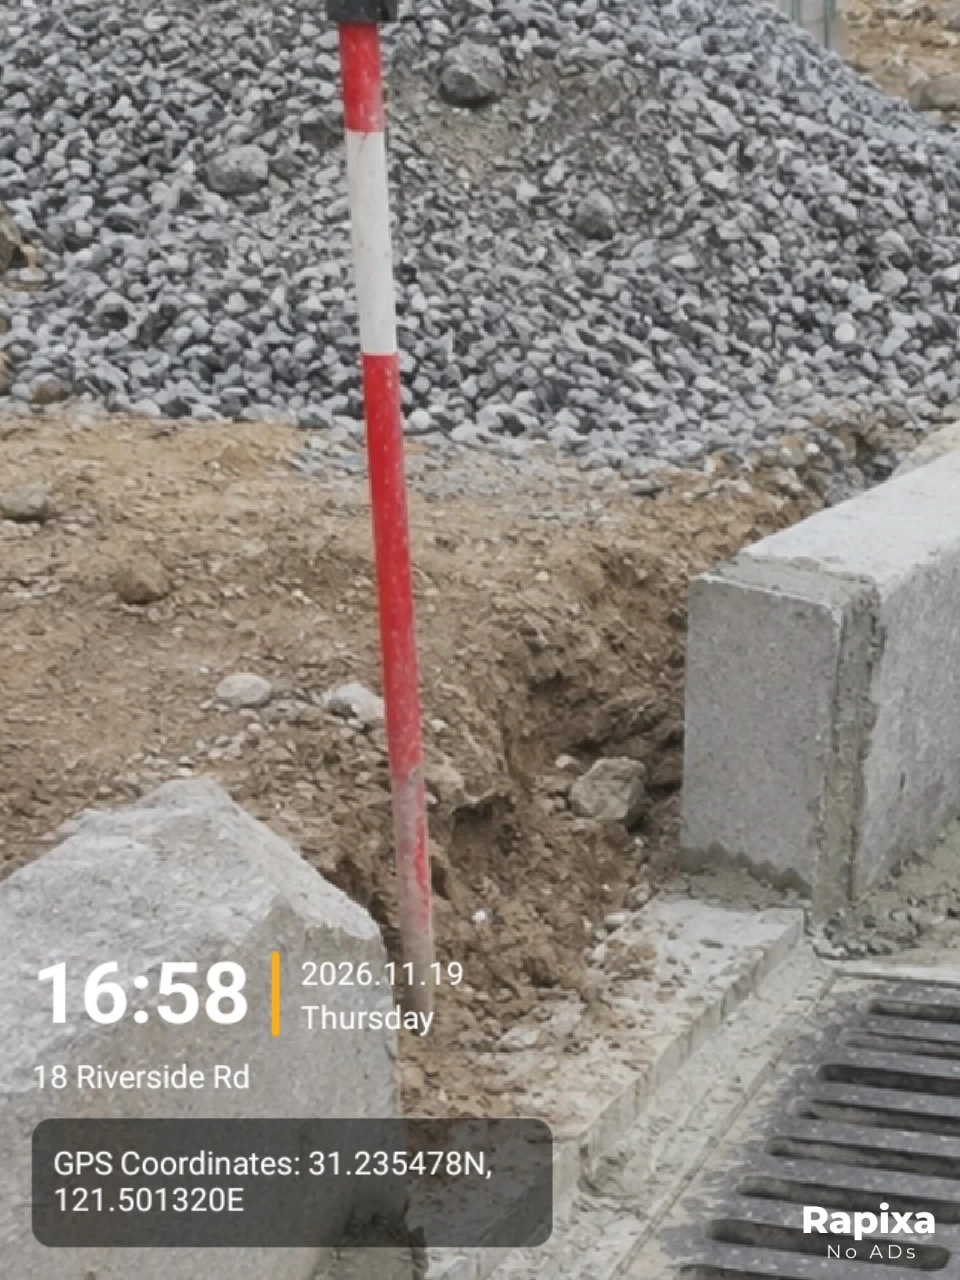
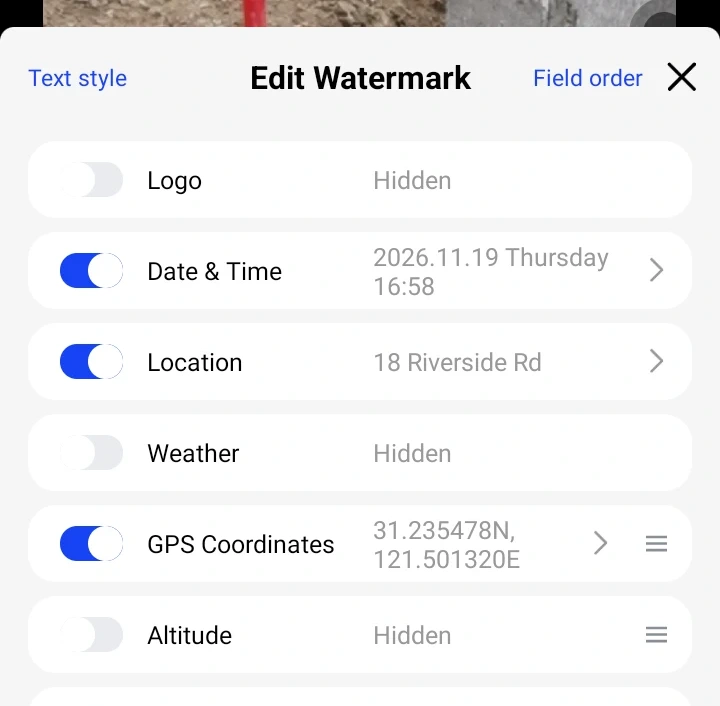
Enable address and coordinates
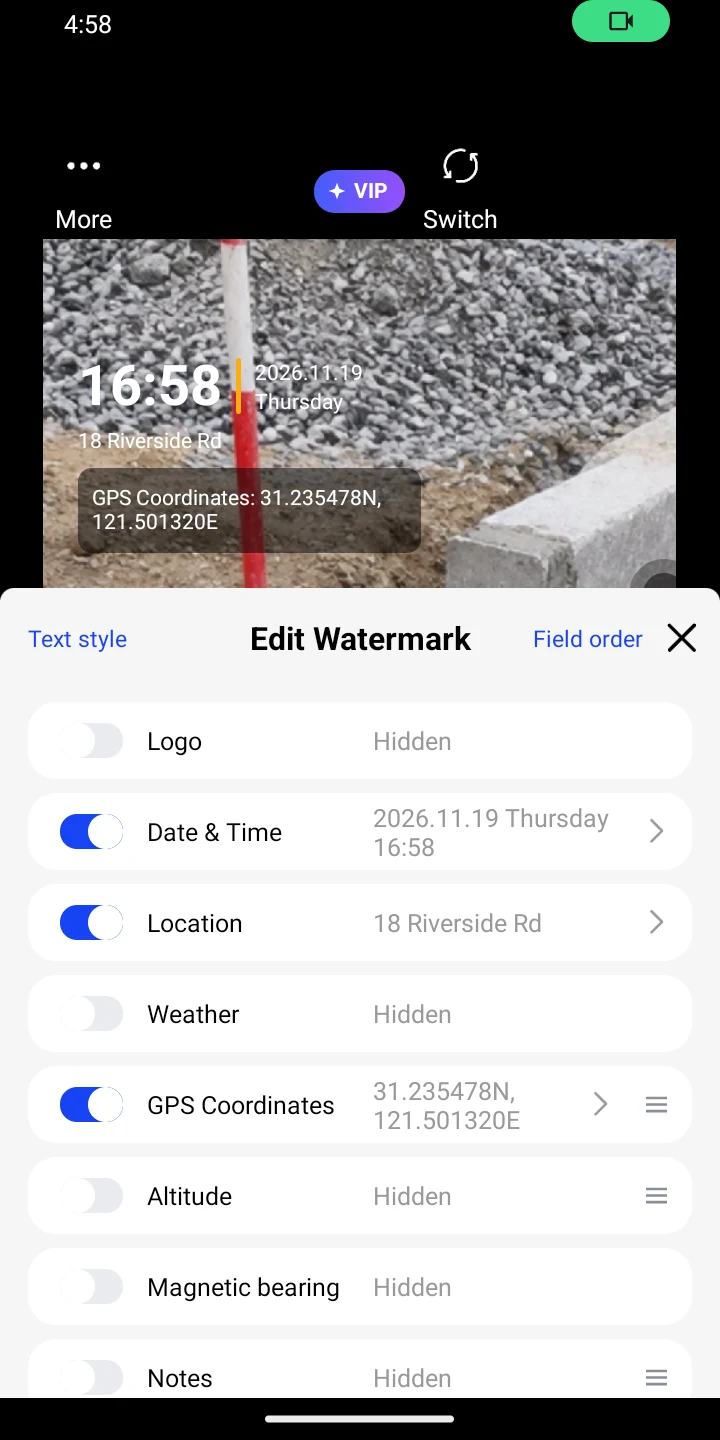
Tap the stamp in the camera preview. Enable GPS Coordinates and Location, then enter or select the site address under Location. The example uses 18 Riverside Rd.
If coordinates are missing, turn on phone location and allow Rapixa to use precise location while in use. Wait for both numbers at the drain before shooting.
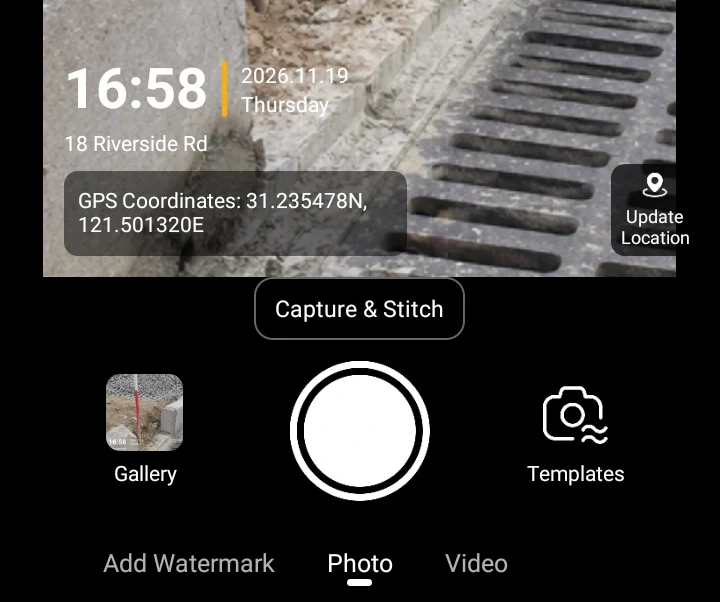
Photograph the damaged drain
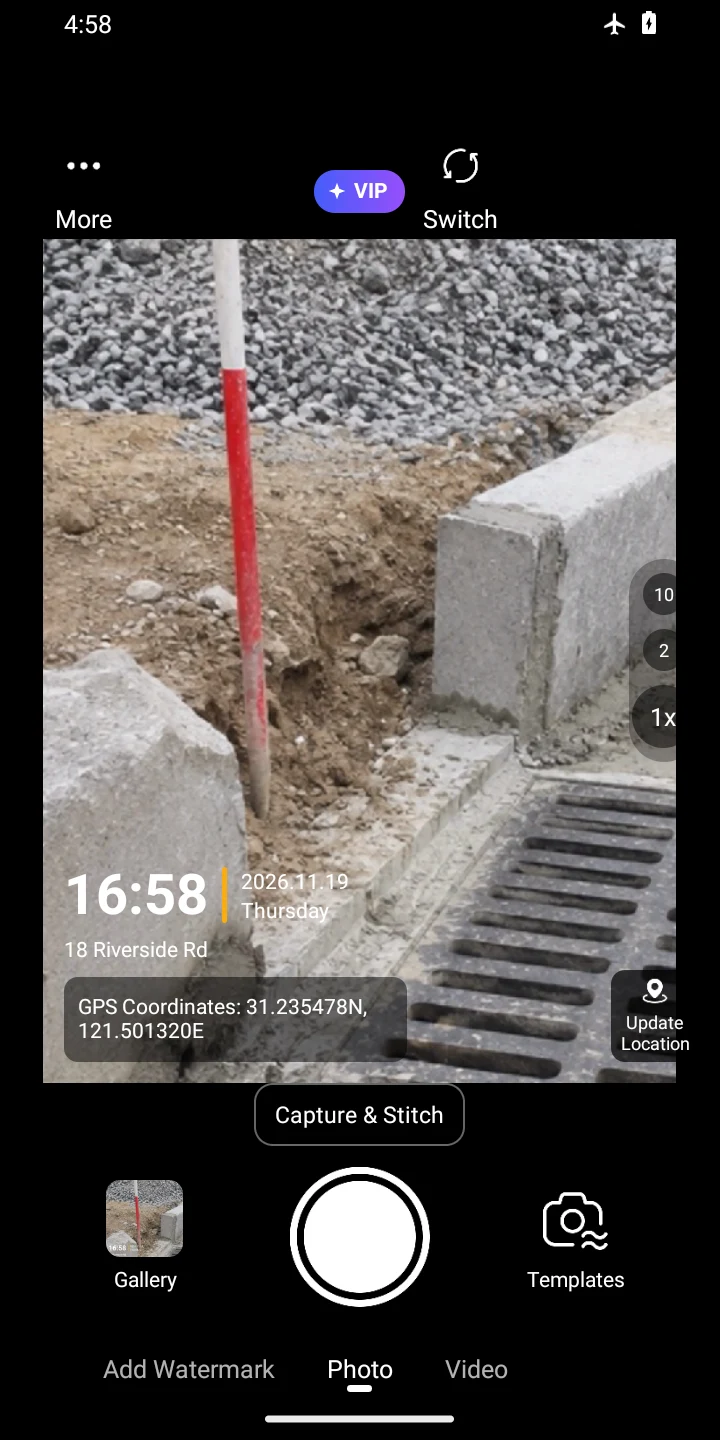
Close the editor and take a photo in Photo. Check the address and both coordinate values in the saved image.
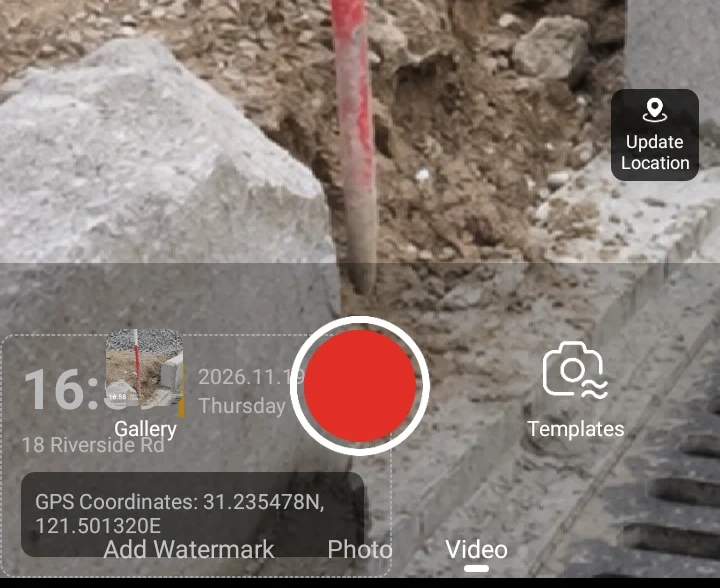
Film a landmark beside the drain
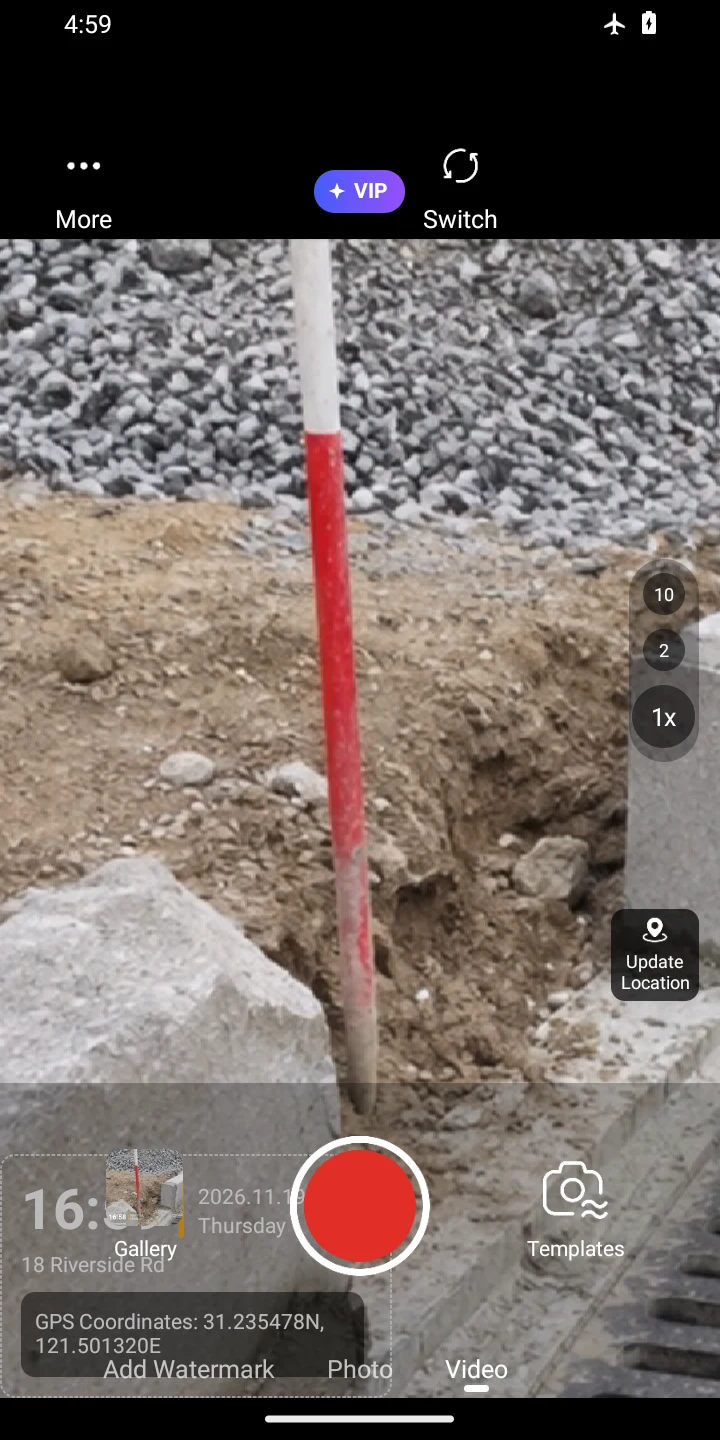
Stay at the same drain. Switch to Video, tap the red record button to start and tap again to stop. Include a sign or cover number if available. The short example below demonstrates the stamp during playback.
Review the photo and video
Open the saved JPG and play the MP4. Pause near the beginning and the end to read the address, latitude and longitude in the picture itself.
Example export. The date and location are demonstration values.
Before you send the file
Before leaving, compare the coordinates on the photo and video with the work order. Check them separately even if you entered the street address by hand.
A site name alone will not supply latitude and longitude. Check both numbers before leaving the site.