
 Rapixa · Android 1.1.8
How to change the date, time and location on a photo for free
Start at step 1Two equipment bases use the same bolts. At shift change, a close-up of the concrete tells the next crew little about which base was checked on the morning round.
Match a site photo to an inspection entry
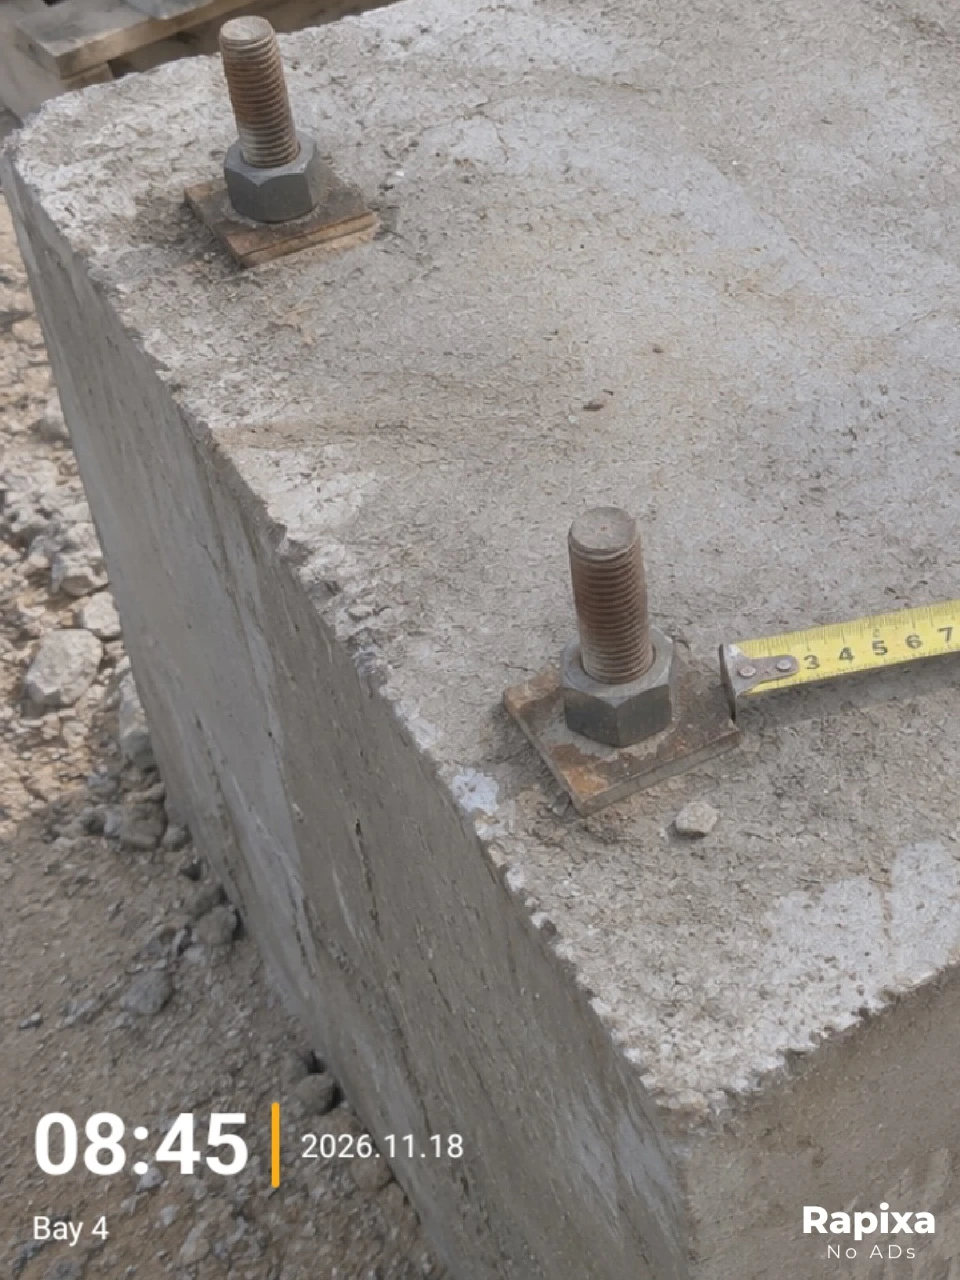
Read the inspection time and bay from the job sheet and put both on the photo before you shoot. The next crew can match the image to a specific entry.
On Android, the first seven days have unlimited use. From day eight, photos, videos and watermark edits share three free actions a day.
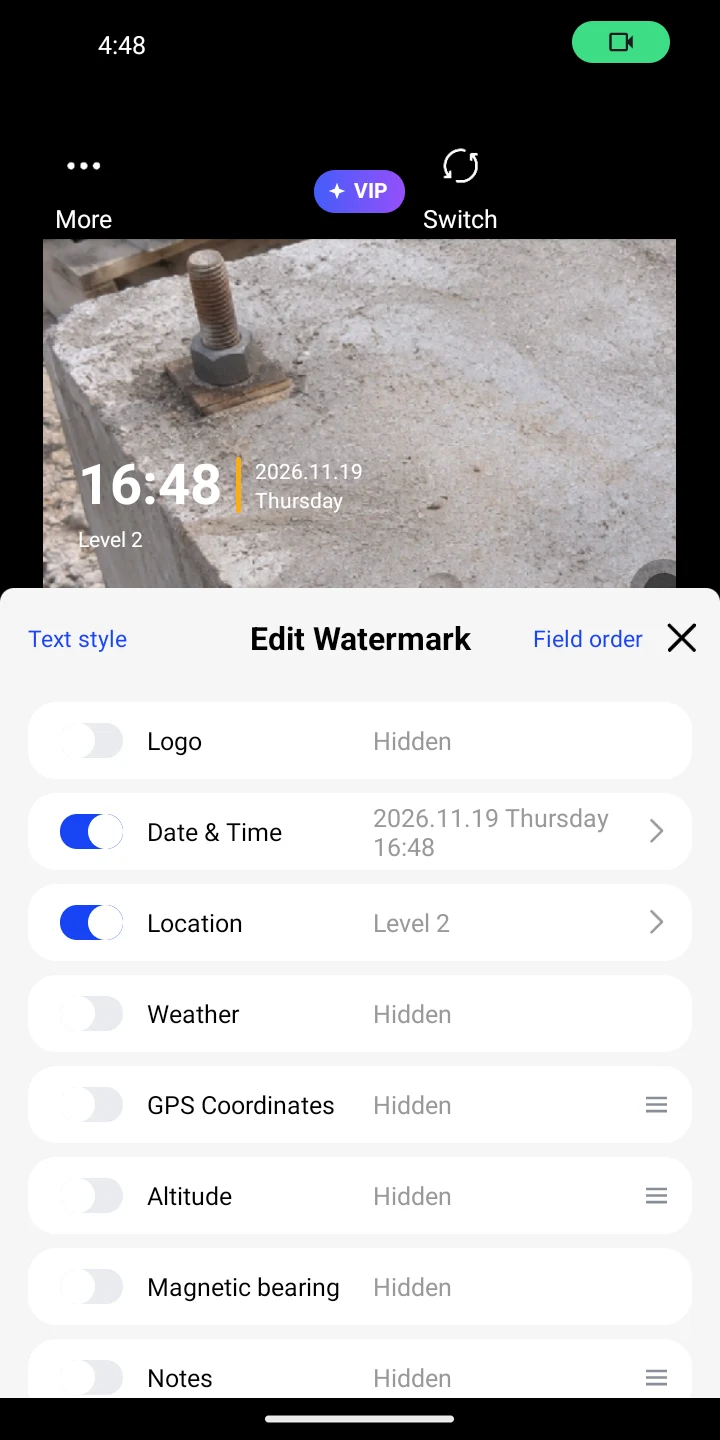
Open the watermark editor
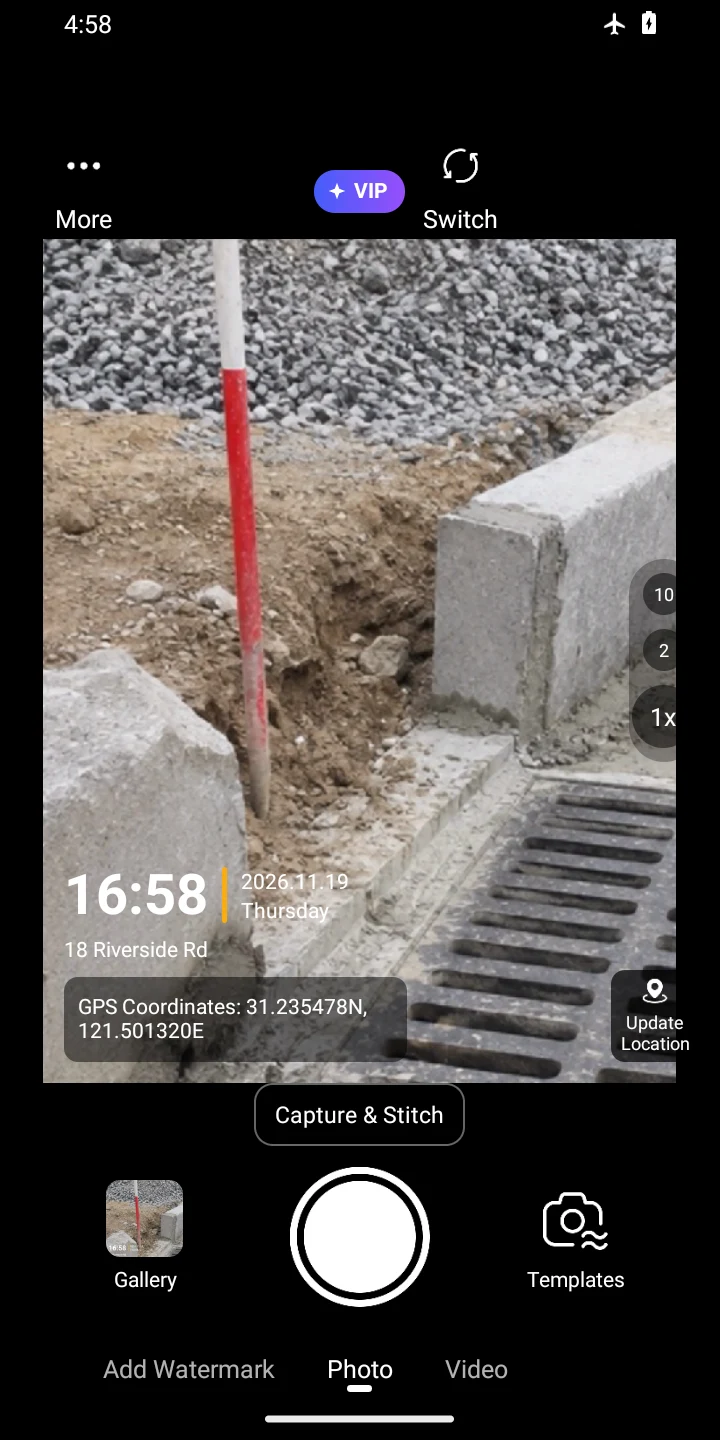
Open Rapixa, allow camera access and stay in Photo. Tap the time printed on the camera preview. If you see no clock, tap Templates beside the shutter, choose GPS + Weather, then tap the clock.
In the editor, turn on both Date & Time and Location.
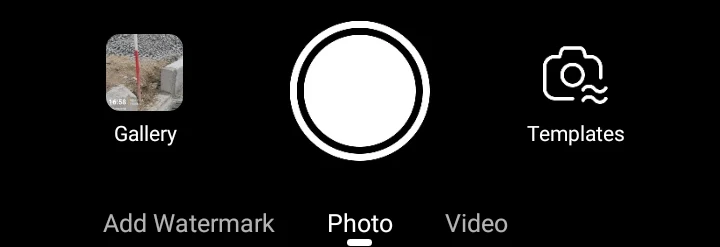
Templates 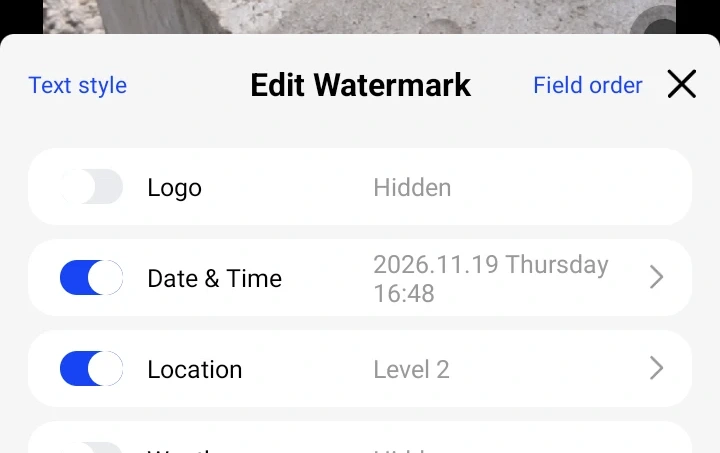
Enter the inspection time
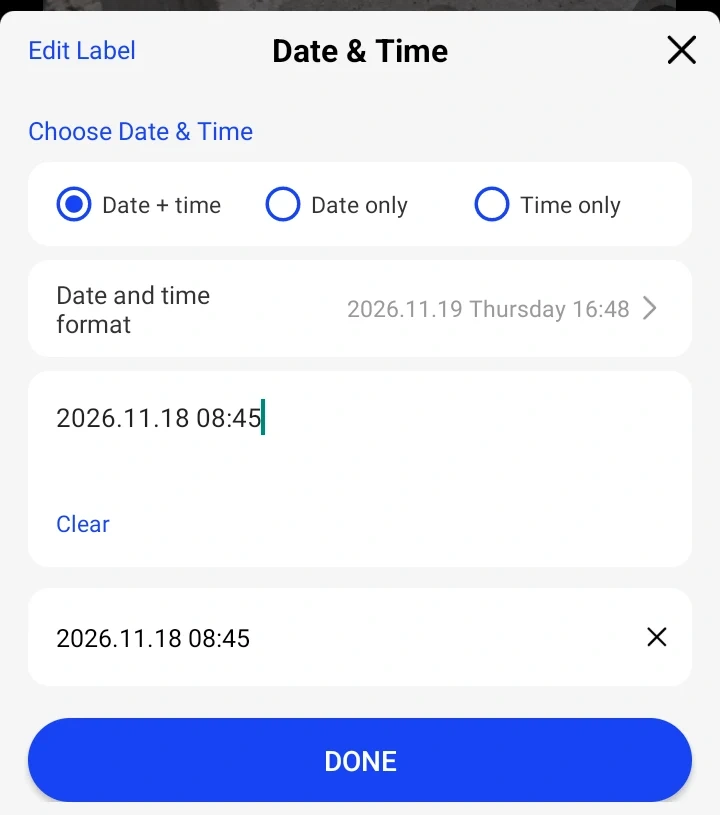
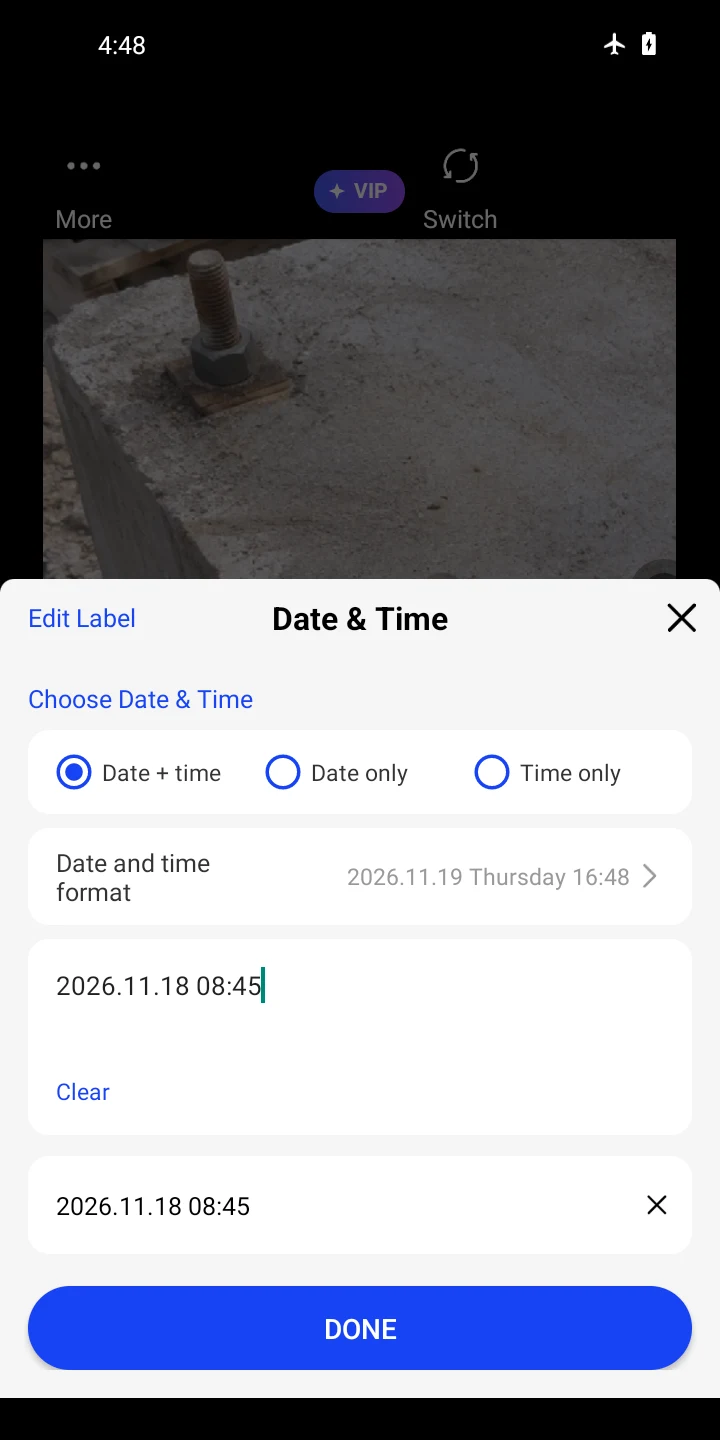
If the camera already shows the correct time, keep it. Otherwise tap Date & Time. If you see a wheel, tap Enter Manually. Enter the time from your record and tap Done. The example is 2026.11.18 08:45.
Select the matching bay
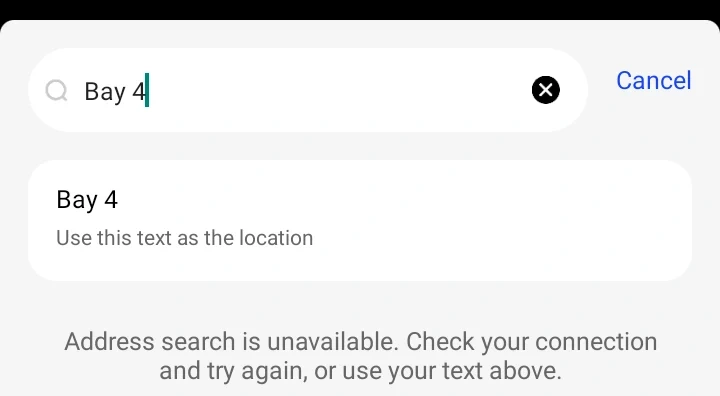
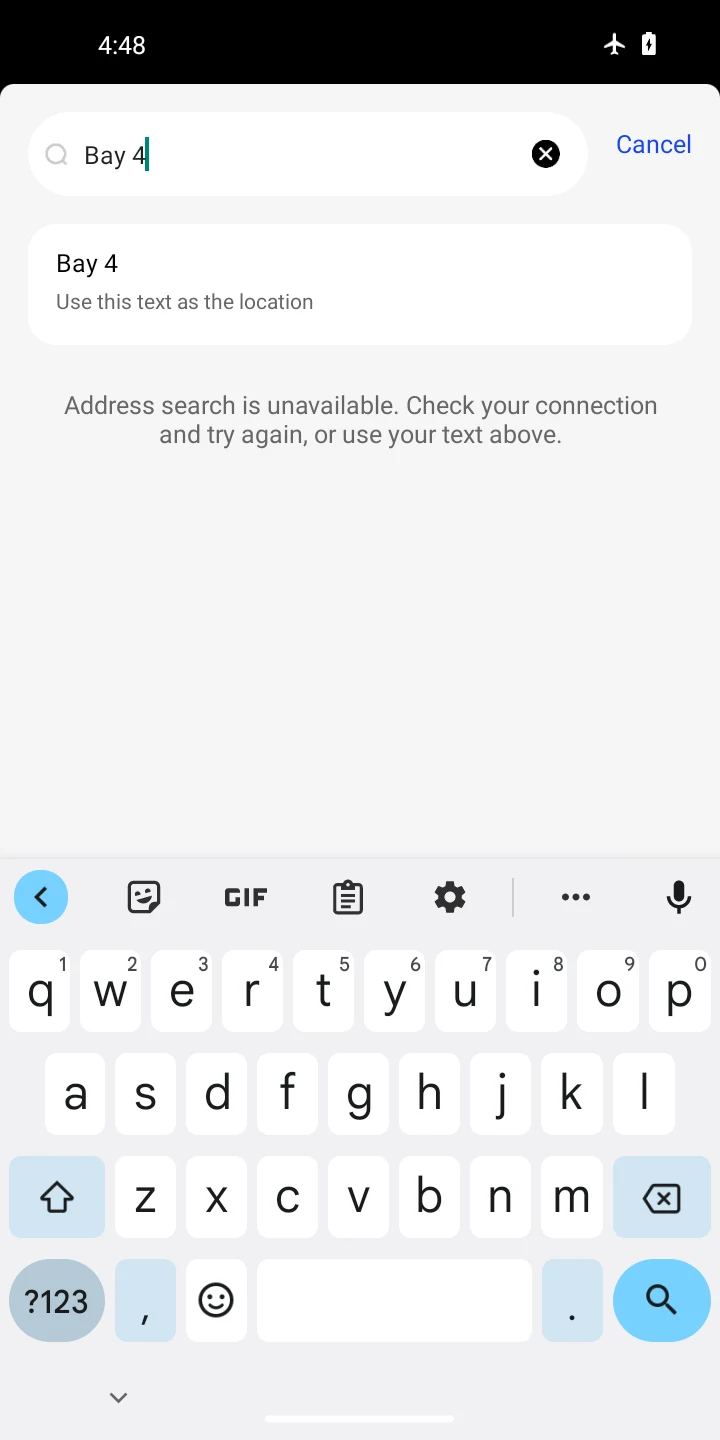
Open Location, tap the search box and type Bay 4. Tap the matching custom-location row to apply it.
Take a photo and check the stamp
Close the editor and press the shutter. Open the saved JPG and check for 08:45, 2026.11.18 and Bay 4 beside the equipment base. These are details printed on the image.
Example export. The date and location are demonstration values.
Before you send the file
If the inspection and the shot happened at different times, identify the displayed time as the inspection time in your report. Keep the original file with the record.
The custom time is printed on the image. Keep the original file when the actual capture time matters.