
How to add a watermark to a saved video on Android
Start at step 1A colleague sends two plant-room clips full of similar cabinets and pipes. A client watching just one clip has no way to tell which project or room it shows.
Identify the room in an existing walkthrough
Import the clip you plan to share and mark it with the project and room. Play through the camera movement and move the stamp clear of gauge readings before exporting a copy.
What you need before importing
- A local video up to 30 minutes long. Download a device copy first if the file is only in cloud storage. Trim a longer recording in a video editor before importing.
- A format your device supports. Support depends on the actual video file and phone. Being able to see a thumbnail does not guarantee the clip will import and export correctly.
- Information you can verify. Confirm the date, project and location for that clip, and keep enough free storage for a separate exported file.
This workflow adds a visible overlay to a new video. It does not rewrite the original clip’s actual capture time or location.
How to add a date, location or logo watermark to a saved video
Open the source clip
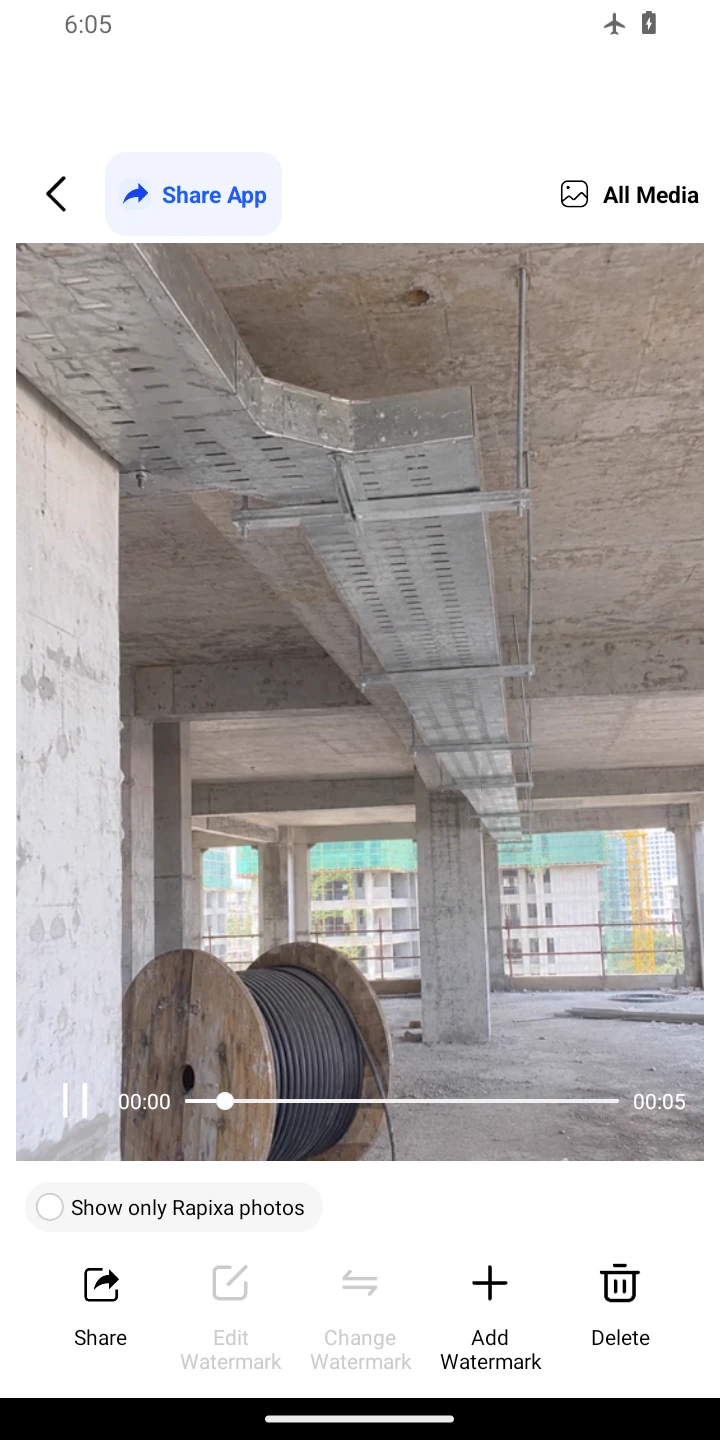
From the bottom of the camera, tap Add Watermark. This opens videos too. Choose a playable clip stored on your phone, up to 30 minutes long. Tap the plus button, Add Watermark, below its preview. If Android asks for media access, allow the file you want to edit. If the video is missing, check the album folder and turn off “Only Rapixa watermark photos”.
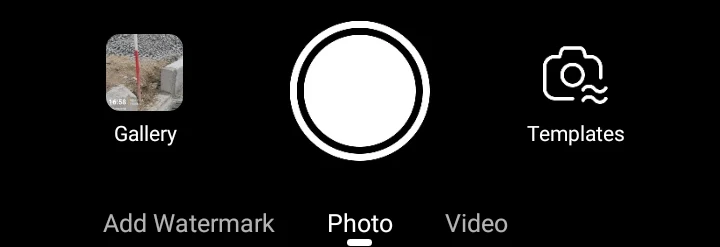
Add Watermark 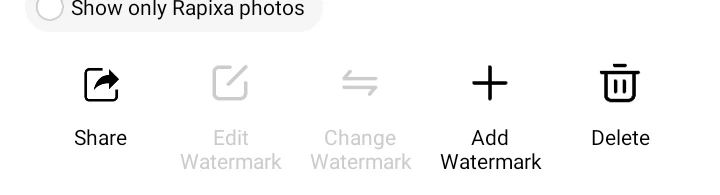
Add Watermark Choose the stamp
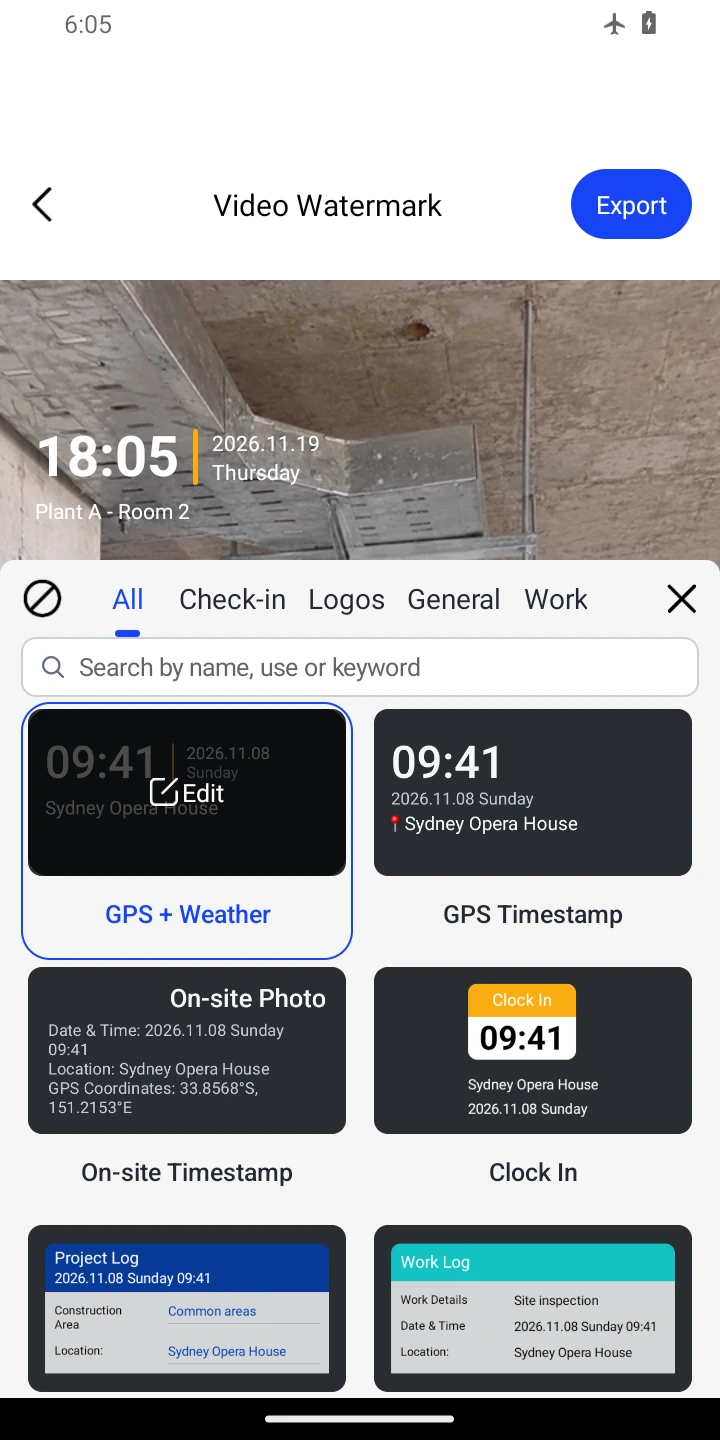
The template list opens automatically. Choose GPS + Weather or keep the selected template and tap × to return to the clip. Use Edit Watermark below the video to reopen the list.
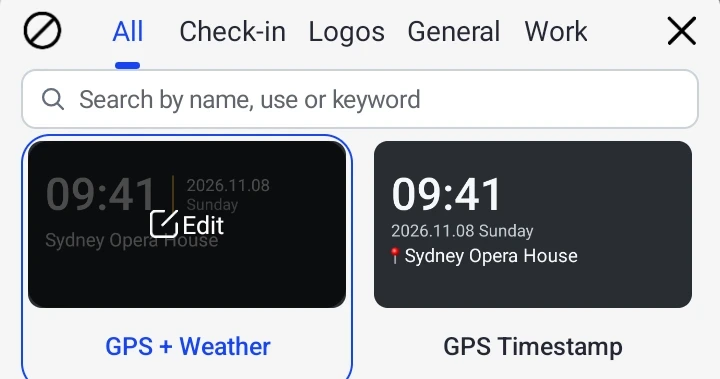
GPS + Weather Enter the project and room
Tap the clock printed on the video. In Location, enter the project and room from the job sheet, such as Plant A - Room 2, then tap the custom result showing that text. Check the record before adding a time to an older clip.
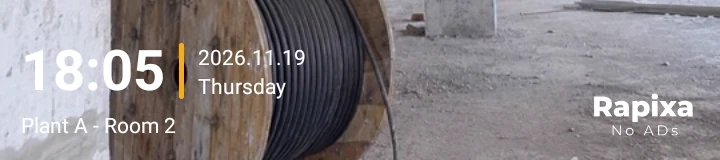
Location · Plant A - Room 2 Check moving scenes
Tap an empty part of the picture to pause or play. Scrub through the beginning, middle and end. If the stamp covers a gauge, drag this template’s stamp to a clear area and replay the clip.
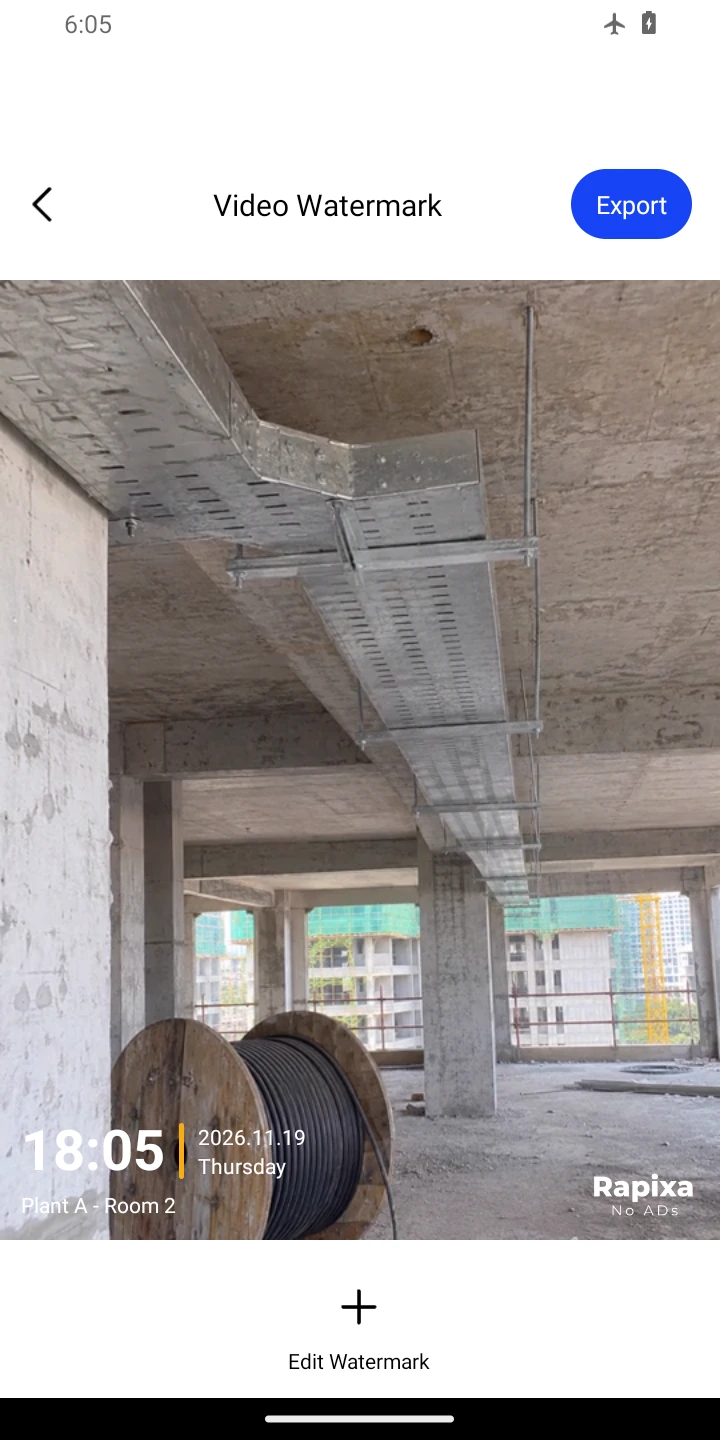
Edit Watermark Export and replay the copy
Tap Export at the top and wait for saving to finish. Open the new clip in your gallery, read the project and room, and check the original is still there. Listen if the source has audio.

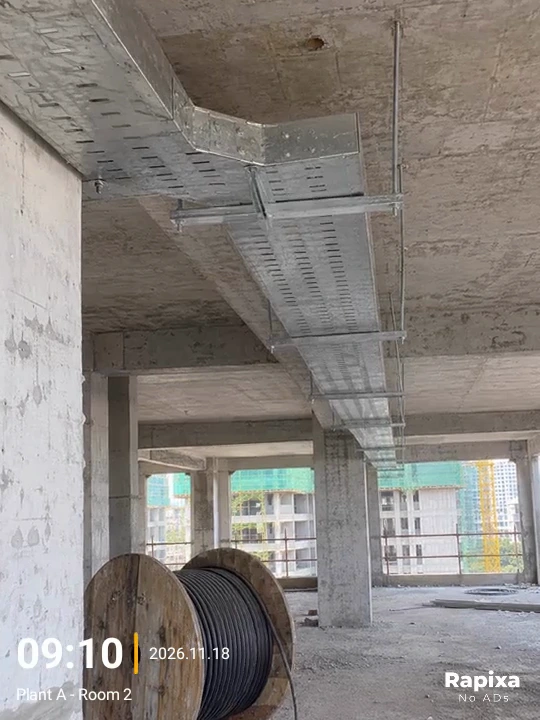
Export Five-second export. A pan across the sample cable-tray photo was imported into Rapixa and stamped with Plant A - Room 2. 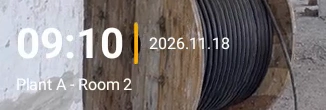
Watermark detail · Plant A - Room 2
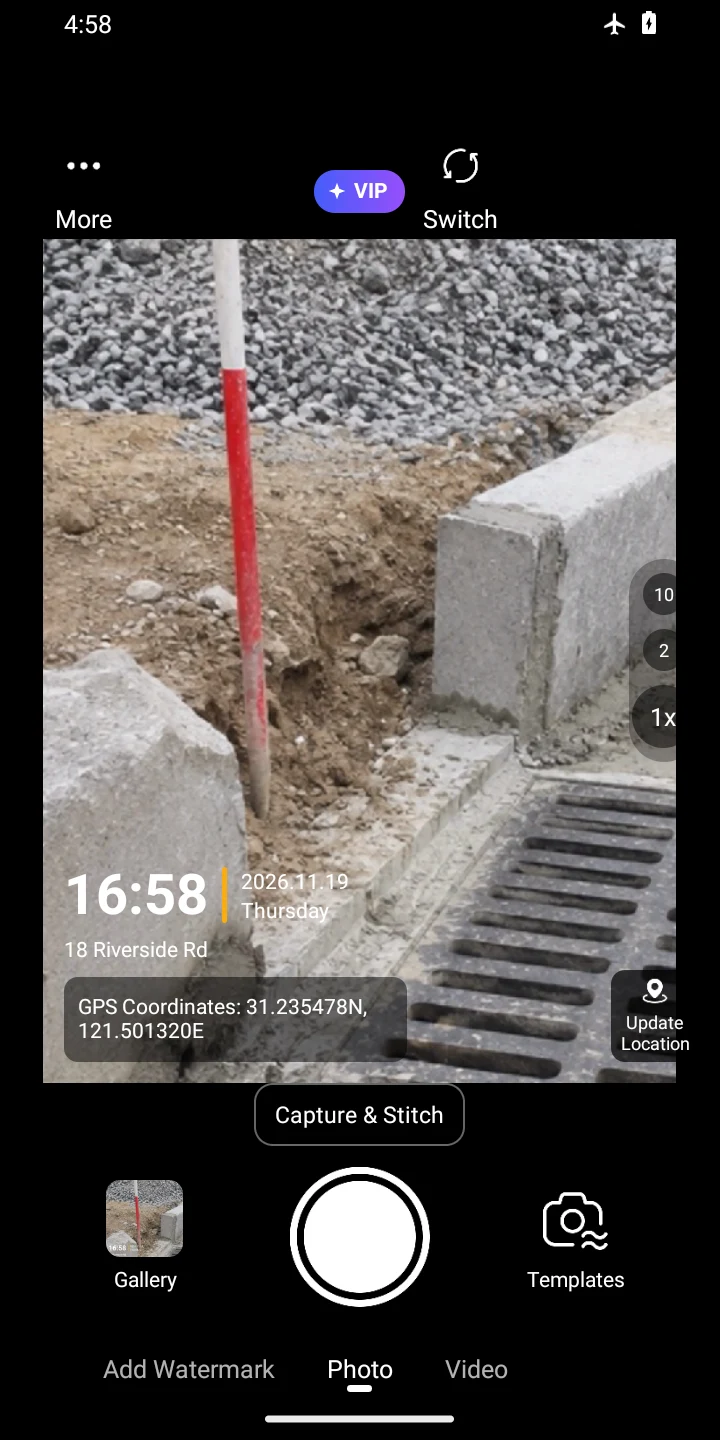
Make a watermark that stays readable as the scene moves
A short project name and a clear location are often enough for a site walkthrough. Put longer explanations in the accompanying report. If you add a company logo, use a clean source image and inspect its background, edges and size in the preview.
Leave space around the main subject. A quiet corner in the opening frame may contain a face or equipment label later. Check several points in the clip and choose a position with a readable contrast throughout.
For example, label a maintenance clip with the verified visit date, the asset name and a short task note. Do not describe the label as proof that the work took place; retain the original recording and supporting records.
Check the exported file before sending it
- Open the saved video, not only the editing preview.
- Play several sections and listen for the audio you expect.
- Check the date, spelling, orientation and position of the watermark.
- Confirm the recipient is getting the watermarked copy rather than the original. A chat app’s compressed preview can look different from the saved file.
Video import and export questions
- My video is longer than 30 minutes.
- Trim the section needed for the report before importing it. A shorter inspection segment is also easier to review. Keep the full original separately.
- The clip is missing or will not open.
- Confirm the file is stored on the phone and check Rapixa’s photo and video access in Android app permissions. If the file is unsupported, use a video editor to create a device-compatible copy, then try a short section first.
- Export stops or no new file appears.
- Check free storage, keep the app open until it finishes and try a shorter supported clip. Wait for completion before looking for the new file in your gallery; retain the source while troubleshooting.
- Can a new watermark replace a timestamp already in the video?
- A new overlay does not remove text embedded in the original frames. Use an unwatermarked source for a clean result.
- Will the GPS label reconstruct the route of an old recording?
- Do not infer the recording’s past location from the phone’s current GPS reading. Use the original information and your records to decide which place the label should describe.
If you are recording a new video instead
Rapixa also records watermarked video, with recordings up to 30 minutes. Set the information before recording and review the saved result afterward. The app offers an option to keep both the original and watermarked recording; check your recording settings and available storage.
For the field settings, follow the date, time and location guide. For still pictures already in your gallery, use the existing-photo workflow.
Before you send the file
Play the exported file from your gallery. Check the beginning, middle and end, and listen to any spoken notes. Keep the source clip for later review.
Product and Android references
- Rapixa on Google Play — App features, device availability and current in-app purchase information.
- Android Help: app permissions — Photo, video, camera and location access settings; wording varies by Android version.
- Google Photos: device copies and cloud backups — Why a picture visible in a cloud library may no longer be stored on the phone.
These instructions use Rapixa’s published English product screens. They describe the workflow rather than one Android device version; check the labels and available options in your installed app.